Haftungsausschluss
|
Datenschutzerklärung
|
Impressum
Hauptmenü
Homepage
Über HB-Krause
Badsanierung
Heizungsanlagen
Fotos / Projekte
Komplette Badsanierung
Bilder-Galerie
Badezimmer / WC
Vorher / Nachher Teil 1
Vorher / Nachher Teil 2
Vorher / Nachher Teil 3
Vorher / Nachher Teil 4
Vorher / Nachher Teil 5
Vorher / Nachher Teil 6
Kundenbilder
Informationen
Haftungsausschluss
Datenschutzerklärung
Impressum
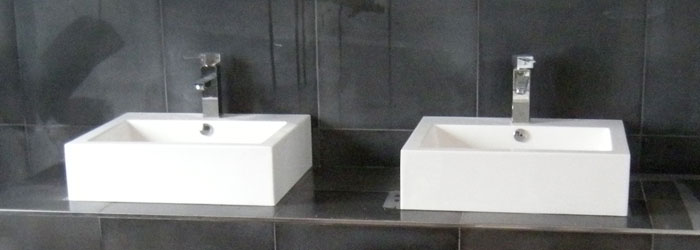
Vorher / Nachher Teil 6
Vorher/Nachher 9
« Vorheriges Bild
9 von 9
Zurück